
Building a hardware MVP is exciting — until the invoices start arriving. If you’re wondering how to build a cost-effective hardware MVP, the single biggest mistake hardware founders make? Treating the MVP like the final product. This leads to over-engineering, feature bloat, and budgets that spiral out of control before you’ve even validated your first assumption. If you need expert guidance, explore our mechanical product engineering services for startups in the US and Europe for professional support. This guide breaks down 8 proven ways to cut costs, move fast, and build only what matters.
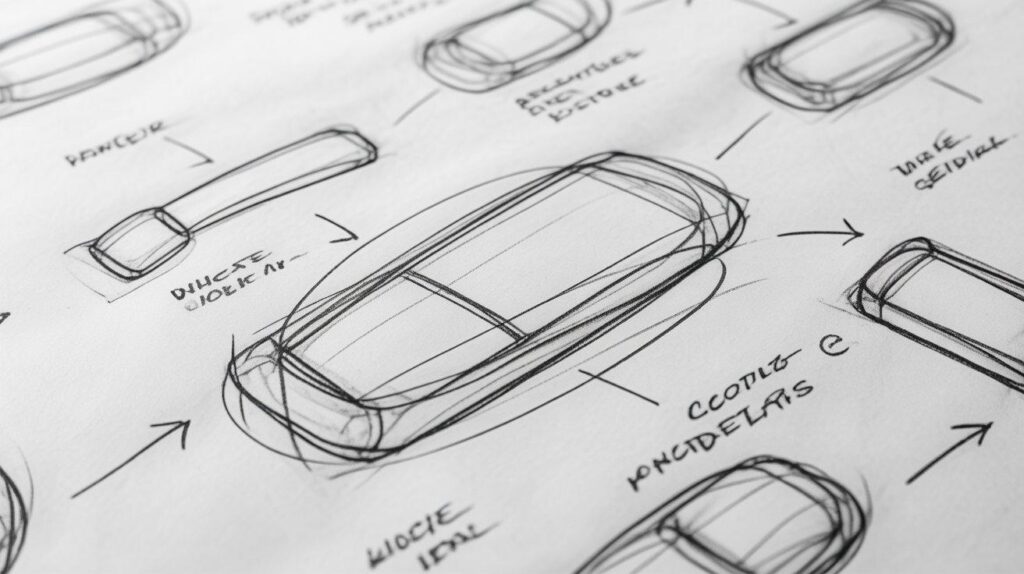
01 Start with a Low-Fidelity Concept — Don’t Jump to CAD
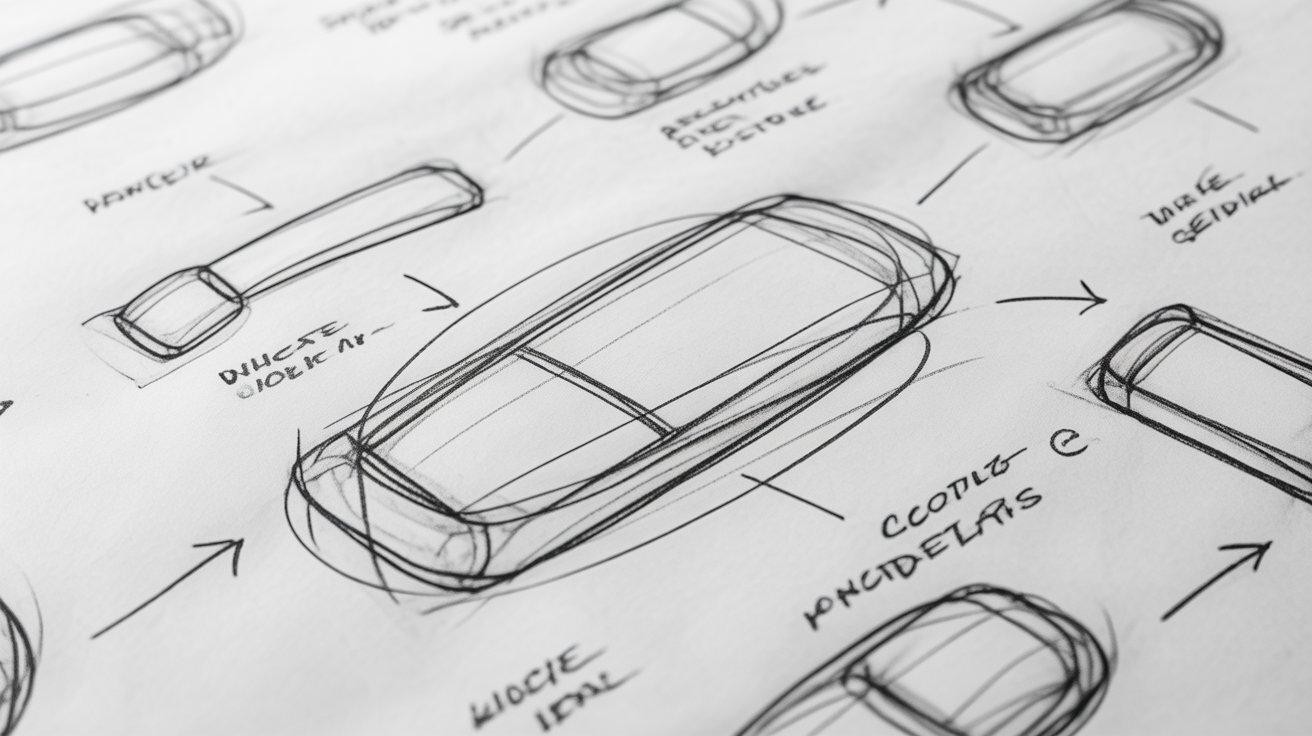
Before you open any design software, spend time with pen and paper. Sketching forces you to think through your idea at a structural level without getting lost in technical details that don’t matter yet, making it one of the most effective low-cost hardware product development strategies.. Paper sketches eliminate costly back-and-forth in early design reviews, while foam models and cardboard mockups expose spatial and ergonomic issues immediately. Low-fidelity concepts take hours to iterate — CAD rework takes days and dollars. Stakeholder feedback is also faster and more honest when there’s no polished render to distract.
02 Build a Functional Mockup Before Engineering for a Cost-Effective Hardware MVP
A functional mockup doesn’t need to look good — it needs to reveal problems. Physical mockups expose issues that even the best digital design tools miss entirely. Use cardboard, foam, or rough 3D-printed shells to test form and fit, validate spatial proportions, and observe how users actually holds, press, and carry the product. Sharing these early mockups with potential users before any engineering investment gives you real feedback when changes are still cheap and fast, helping reduce hardware prototyping costs for startups and supporting a cost-effective hardware MVP.
03 Focus Only on “Must-Have” Features — Avoid Scope Creep
Scope creep is the silent budget killer in hardware MVPs. Every feature you add doesn’t just cost design time — it multiplies across prototyping, testing, sourcing, and production, often driving costs up by 2–3×. To avoid over-engineering in hardware product design, For every feature on your list, ask: “Will the product fail to validate without this?” If the answer is no, remove it from the MVP scope entirely. Fancy displays, premium finishes, and advanced mounting systems can all wait. Prioritise only the features that directly test your core value proposition — nothing else.
04. Choose the Right Prototyping Method Early for a Cost-Effective Hardware MVP
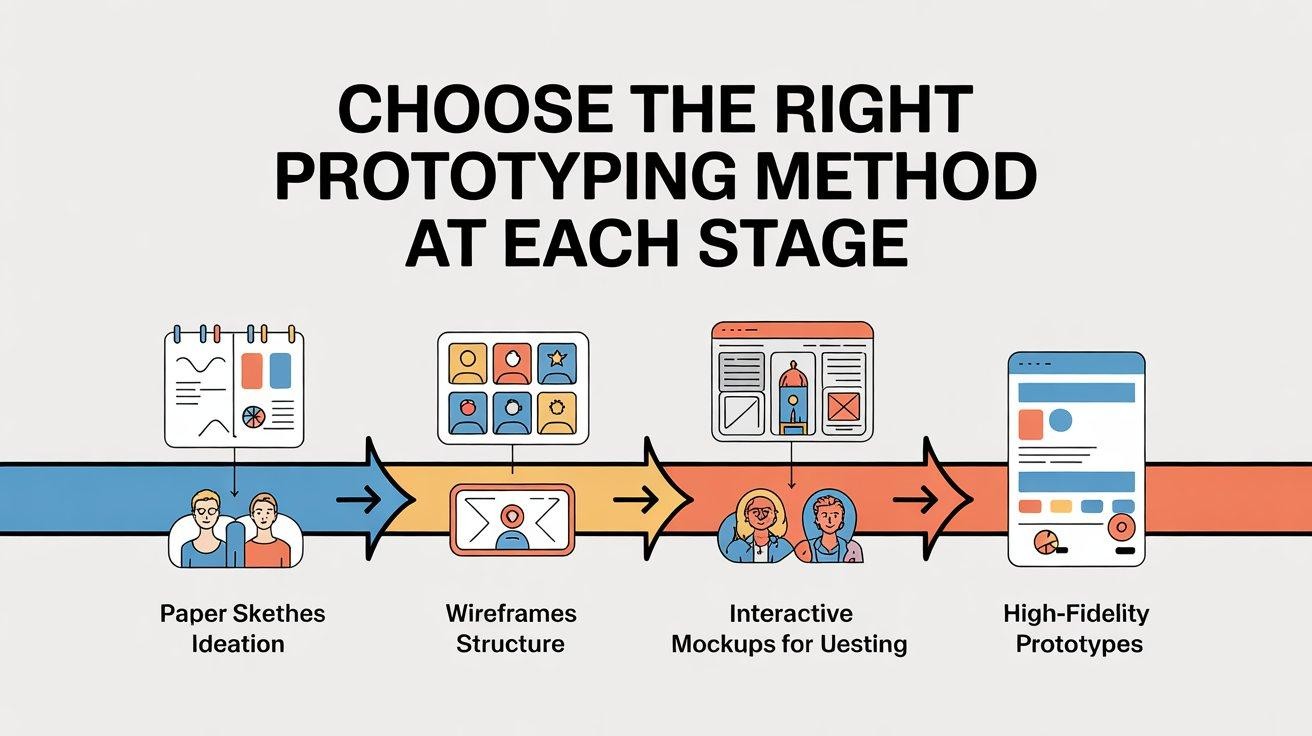
Using the wrong prototyping method at the wrong stage is one of the most common budget mistakes in hardware development. Choosing the best prototyping methods for hardware MVP is critical – 3D printing is fast and low-cost, making it ideal for early iterations and form validation. CNC machining is precise and functional, best suited for later-stage validation once your geometry is near-final. Laser cutting works well for flat components and enclosures at a low cost. Injection moulding should be reserved entirely for production — never used at the MVP stage.
05 Design with Manufacturing in Mind (DFM Early)
Design for Manufacturability in early stage hardware isn’t something you think about after the design is done — it’s something you bake in from day one. Late-stage DFM fixes are expensive, slow, and demoralising. Align wall thickness to your target manufacturing process from the start, add draft angles to injection-moulded parts during initial design rather than after the fact, and use ribs and gussets instead of thick walls for a stronger and cheaper result. Considering production volume early when choosing materials and processes can save enormous rework costs down the line.
06. Prototype in Iterations — Don’t Aim for Perfect
The most expensive prototype is the one you tried to make perfect on the first attempt. Rapid iteration is how real hardware products get built — learn, improve, repeat. Build the simplest version possible and test it immediately. Each round of testing gives you actionable, real-world feedback that you can incorporate before the next build which is essential for achieving a cost-effective hardware MVP. Multiple low-cost iterations beat one expensive “final” prototype every time, and documenting every iteration means your findings compound into a smarter, better product over time.
07. Separate Prototype Design from Production Design
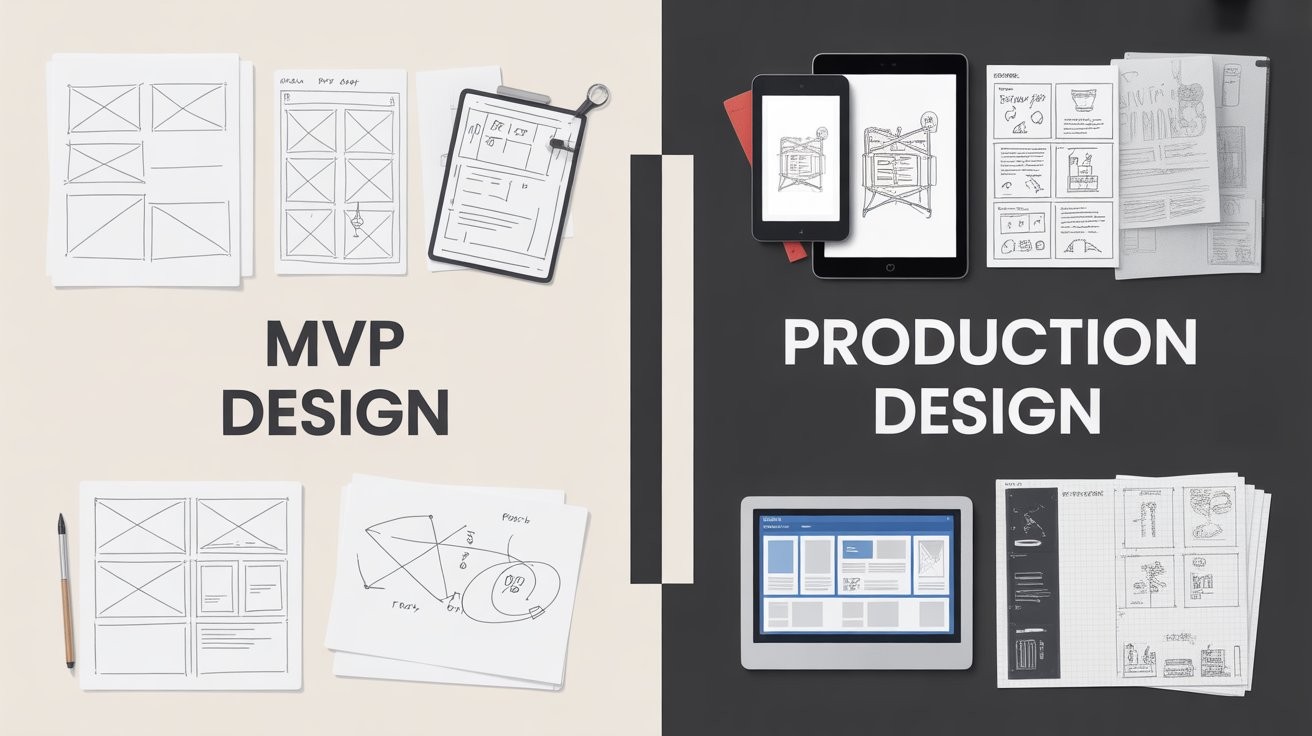
This is a mistake almost every first-time hardware founder makes — treating the MVP and the production product as the same thing. They are fundamentally different objects with different goals. The MVP’s job is to validate that the idea works and that people want it. The production design’s job is to manufacture efficiently, reliably, and at scale. Mixing the two leads to over-engineering the MVP and under-preparing for production. Plan for a deliberate redesign phase between MVP completion and manufacturing readiness.
08. Validate Before Investing in Tooling for a Cost-Effective Hardware MVP
Injection moulding tooling is one of the single largest upfront costs in hardware development, often ranging from $6,000 to $25,000 in the US and €5,000 to €22,000 in Europe or more. And it locks in your design — every post-tooling change is expensive, slow, and sometimes impossible without scrapping the tool entirely. Never commit to tooling until your design has been validated with real users. Run a small batch of 25–100 units using 3D printing or soft tooling first, test assembly and ergonomics thoroughly, and validate market demand with pre-orders or pilot sales before making the tooling investment.